April 15, 2025 · 6 min read
How to Set Up Claude on Mac: Account, Pro, Desktop App, and Connectors
A step-by-step guide to getting Claude fully set up on your Mac before your first session. Takes about 15 minutes and covers everything from creating your account to connecting your tools.
Complete before your first session. Takes about 15 minutes. This guide walks through four steps: create a Claude account, subscribe to Claude Pro, download the Claude desktop app, and connect your accounts.
Step 1: Create Your Claude Account
Claude is made by Anthropic. Your account lives at claude.ai.
1a. Go to claude.ai
- Open any web browser. I recommend Chrome.
- Type claude.ai in the address bar and press Enter.
- You will land on the Claude homepage with a sign-in prompt.
1b. Sign up
- Click "Sign up."
- Sign up with an existing Google account (easiest) or with your email address.
- If you use Google: click "Continue with Google," select your account, and follow the prompts. You will be signed in immediately.
- If you use email: enter your address, click "Continue with email," then check your inbox for a login link from @mail.anthropic.com. Click that link to finish.
If the login email does not arrive, check your spam folder. Work or school addresses sometimes filter it. Search for @mail.anthropic.com.
1c. Finish account creation
- When prompted, enter your phone number and verify it with the code sent by text.
- Enter your name.
- You will land on the Claude chat interface. Your account is now active.
Step 2: Subscribe to Claude Pro
Claude Pro is $20 per month. It gives you access to Claude's most capable models, features, and the usage limits needed for our sessions.
2a. Open Settings
- Look in the lower left corner of the Claude interface. You will see your name or initials.
- Click on it. A short menu will appear.
- Select "Settings."
2b. Upgrade your plan
- Inside Settings, click "Billing" in the left menu.
- Click "Upgrade plan."
- On the next page, click "Get Pro plan."
- Choose monthly billing ($20/month). Annual is available if you prefer.
- Enter your payment information and click "Subscribe."
To confirm it worked, go back to Settings > Billing. It should now show "Pro" as your current plan. Your subscription auto-renews. You can cancel at any time from Settings > Billing.
Step 3: Download the Claude Desktop App
The desktop app brings Claude directly to your computer. It is faster than the browser and required for the more powerful features we will use together.
3a. Download
- Go to claude.ai/download in your browser.
- The page will detect your operating system automatically (macOS).
- Click the download button. A file will save to your Downloads folder.
3b. Install on Mac
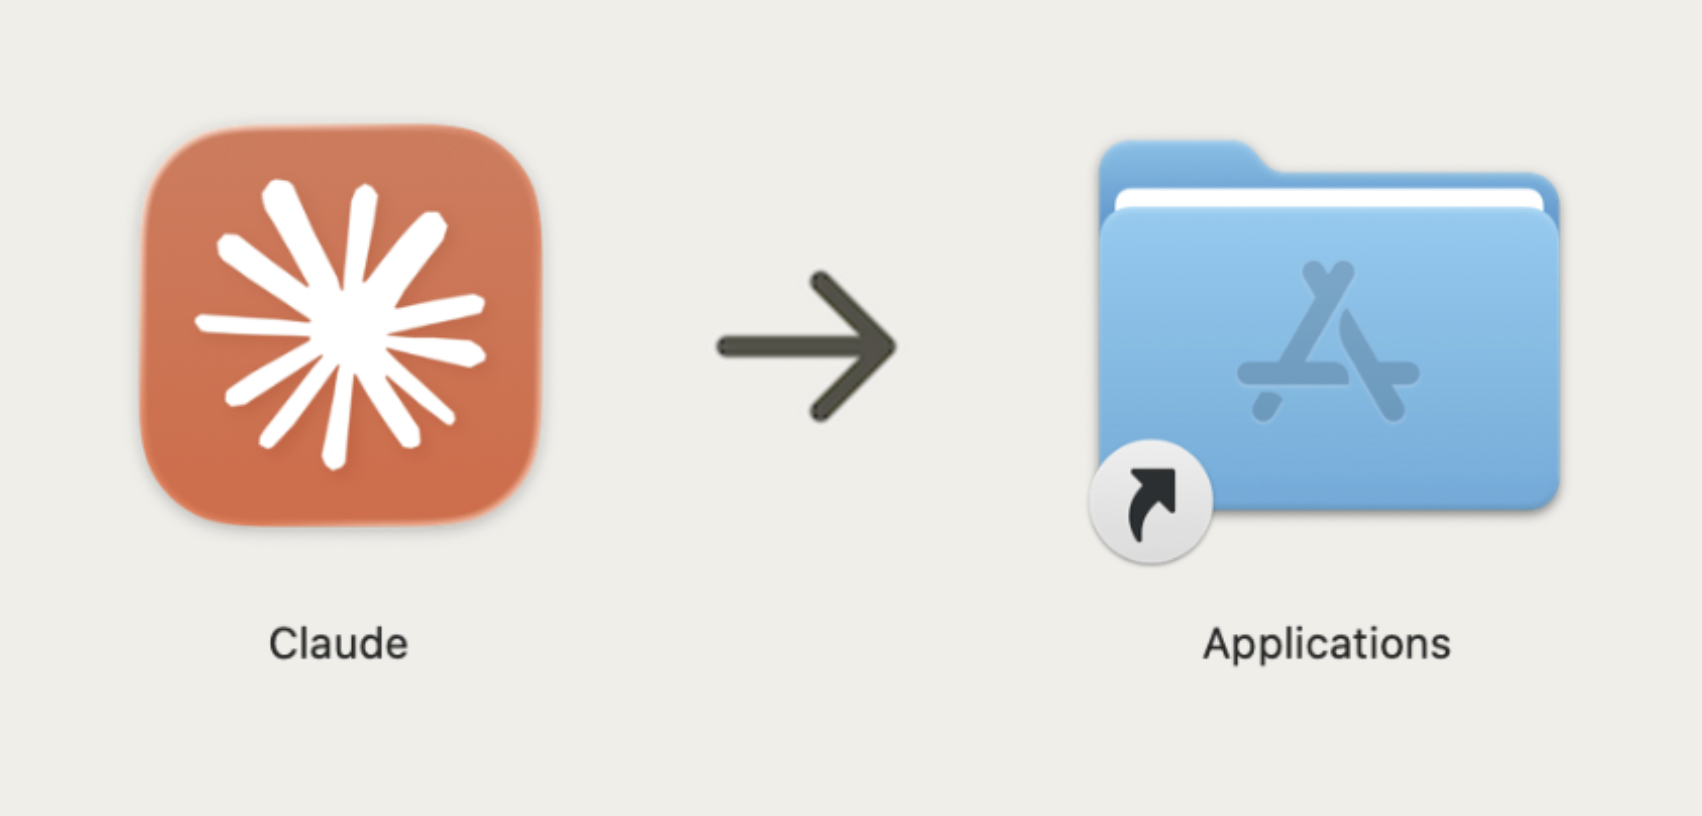
- Open your Downloads folder and find the Claude file (ends in .dmg). Double-click it to open.
- A window will appear with the Claude icon and your Applications folder. Drag the Claude icon into the Applications folder.
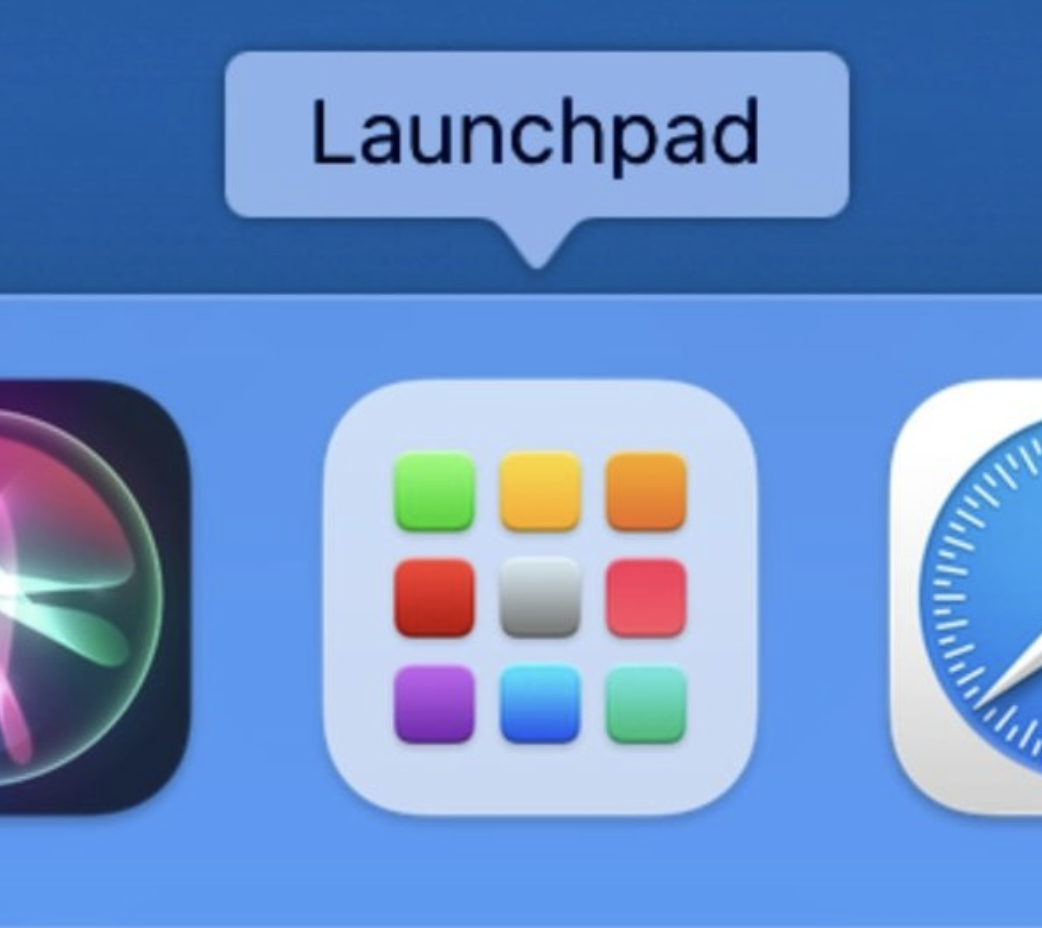
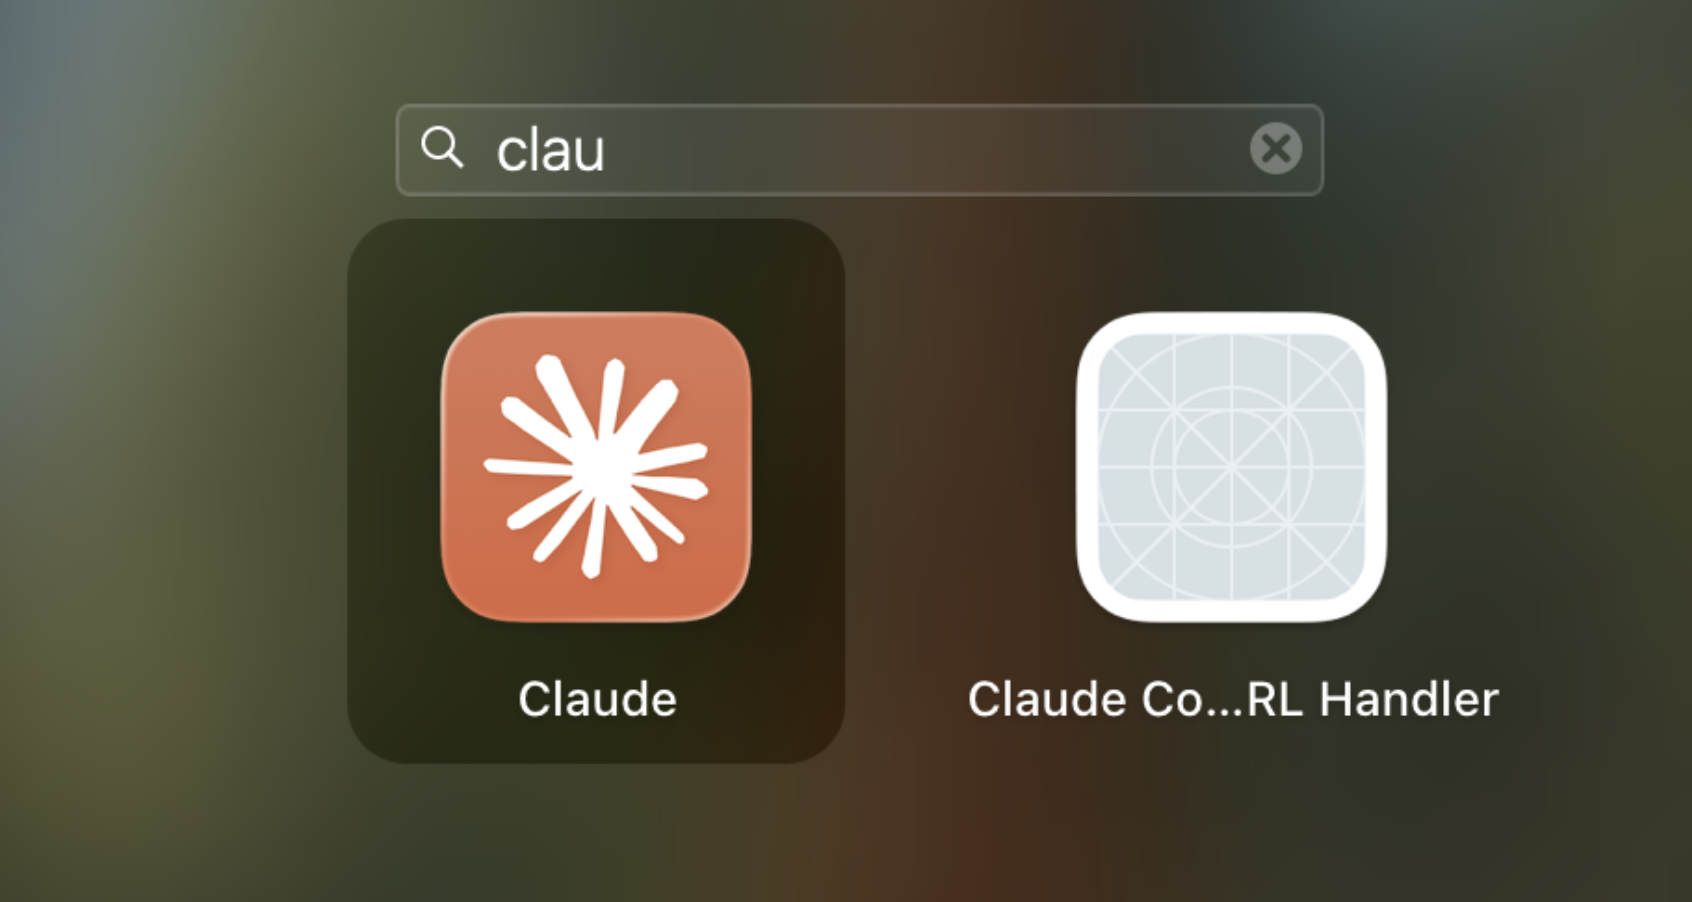
- Open Launchpad or Spotlight (Cmd + Space), search "Claude," and double-click it to launch.
- If a message says the app is from an unidentified developer, click "Open Anyway" or "Trust". If that does not work, go to System Settings > Privacy and Security.
3c. Sign in to the app
- When the app opens, click "Sign in." Use the same account you created in Step 1.
- Once signed in, you will see the Claude chat interface inside the desktop app. Step 3 is complete.
Step 4: Connect Your Accounts
Connecting your accounts lets Claude read your emails, see your calendar, access your files, and more, so it can work with real data rather than hypotheticals. We will go deeper on these in your session, but having them connected beforehand means we can jump straight into live demos.
4a. Open the Connectors panel
- In the Claude desktop app, click "Customize" in the left sidebar.
- Click the "+" button at the top of the screen, then select "Browse connectors."
4b. Connect your accounts
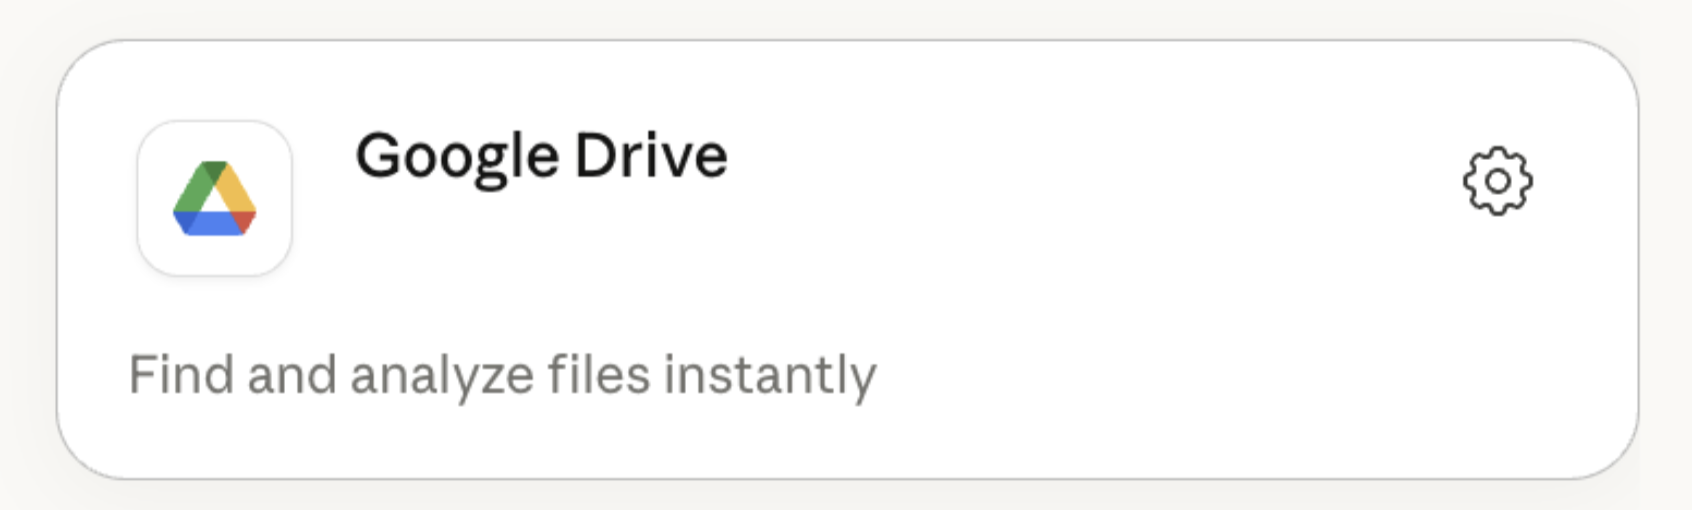
- Find a connector you want to add (e.g. Google Drive) and click the settings icon next to it.
- Click "Connect." A sign-in window will appear for that service. Sign in and click "Allow" to grant Claude access.
- Repeat for each connector you want to add.
Connect everything that applies to your work. Only connect what you actually use.
- Necessary (please connect all of these): Claude in Chrome, Control Chrome, Filesystem, PDF Tools, PDF (by Anthropic), PowerPoint (by Anthropic), Word (by Anthropic), Control your Mac, MacOS
- Google suite: Gmail, Google Calendar, Google Drive
- Communication: Slack, iMessage, Notes app
- Project management: Notion, Asana, Monday.com
- Design and dev: Canva, Figma, GitHub
- Other: Calendly, Stripe, Airtable, Granola AI, Snowflake, Klaviyo, Google Cloud BigQuery, etc.
4c. Configure permissions
- After connecting, click on each connector to see its "Tool permissions" panel on the right.
- For read-only tools, set to "Always allow." For write/delete tools, leave at default or set to "Always allow" if you are comfortable. I personally have "Always allow" for everything except for things like "Send message". The more read permissions Claude has, the more things it can do without checking in with you.
Before Your Session: Confirm These Four Things
- You can open claude.ai in a browser and see the chat interface
- Settings > Billing shows "Pro" as your current plan
- The Claude desktop app is installed and you are signed in
- All relevant connectors are connected and properly configured
If all four are confirmed, you are ready. If anything is not working, email me before your session.
What to Expect in Your Session
Your first session will be an overview of how to use Claude, best practices, and examples of what you can do with these connectors. We will start with the basics but quickly move on to doing real work.
One thing to have ready: think of a few real tasks or projects you are working on right now that you wish could be done, or done faster. Examples: keeping up with your Slack channels, monitoring your email, building a strategy deck based on a combination of memos, meeting summaries, research, and data.
Questions before your session? Email maya@formai.build
Work with Maya
Ready to build real AI fluency?
Book a free 20-minute intro call with Maya. No prep needed, just a conversation about where you are and where you want to be.
Book Intro Call